Emergency Roof Repair Tips for Storm Damage
Essential tips for temporary emergency roof repairs after storm damage to protect your home from further harm.
Essential tips for temporary emergency roof repairs after storm damage to protect your home from further harm.
Emergency Roof Repair Tips for Storm Damage Your Ultimate Guide
Storms can be brutal, leaving a trail of destruction in their wake. For homeowners, one of the most immediate and pressing concerns after a severe storm is often roof damage. A compromised roof isn't just an aesthetic issue; it's a direct threat to the integrity of your entire home, exposing it to water intrusion, further structural damage, and even mold growth. Knowing how to perform emergency roof repairs can be a lifesaver, providing crucial temporary protection until professional help arrives. This comprehensive guide will walk you through the essential steps, necessary materials, and safety precautions for tackling storm-damaged roofs, focusing on practical, actionable advice for homeowners in the US and Southeast Asia.
Assessing Storm Damage Safely Identifying Roof Damage After a Storm
Before you even think about climbing a ladder, safety is paramount. After a storm, your property might have downed power lines, unstable structures, or slippery surfaces. Always prioritize your well-being. Once it's safe to venture outside, conduct a preliminary assessment from the ground. Look for obvious signs of damage:
- Missing or lifted shingles: These are clear indicators of wind damage.
- Granule loss: Shingle granules in gutters or on the ground suggest significant wear or impact damage.
- Dents or punctures: Hail or falling debris can cause these, especially on softer roofing materials like asphalt shingles or metal.
- Damaged flashing: Around chimneys, skylights, and vents, damaged flashing is a common source of leaks.
- Sagging roof deck: A more severe sign, indicating potential structural damage.
- Debris on the roof: Branches, leaves, or other storm-borne items can hide underlying damage.
Inside your home, check ceilings and walls for water stains, drips, or bulging plaster, which indicate active leaks. Document everything with photos and videos for insurance purposes. This initial assessment will help you understand the scope of the problem and determine if temporary repairs are feasible or if immediate professional intervention is required.
Essential Tools and Materials for Temporary Roof Repair What You Need
Having the right tools and materials on hand can make all the difference when performing emergency repairs. Here’s a list of what you’ll likely need:
- Heavy-duty tarp: This is your primary temporary waterproofing solution. Choose one that is large enough to cover the damaged area with extra overhang. Brands like Blue Tarps (generic but widely available), Tough Tarps (known for durability), or Rhino Tuff Tarps (heavy-duty option) are good choices. Prices typically range from $20 for a small 10x12 ft tarp to $100+ for larger, heavy-duty options (e.g., 30x40 ft).
- 2x4 lumber or similar wood strips: Used to secure the tarp.
- Hammer or staple gun: For fastening wood strips or tarps.
- Roofing nails or screws: To secure wood strips.
- Utility knife or heavy-duty scissors: For cutting tarps or other materials.
- Work gloves: Protect your hands from sharp edges and debris.
- Safety glasses: Essential for eye protection.
- Sturdy ladder: Ensure it’s in good condition and properly secured.
- Measuring tape: For accurate measurements of the damaged area.
- Plastic sheeting or plywood: For covering smaller holes or broken skylights.
- Roofing cement or caulk: For minor leaks or sealing small gaps. Products like Henry 208 Wet Patch Roof Cement or GE Silicone II Window & Door Sealant are effective. A tube of roofing cement costs around $5-15.
For homeowners in Southeast Asia, local hardware stores will carry similar items. Look for brands that are known for durability and weather resistance, especially given the region's heavy rainfall and humidity. For example, in countries like the Philippines or Vietnam, brands like Davies Paints or Boysen Paints might offer suitable roofing sealants, and generic heavy-duty tarpaulins are readily available.
Step-by-Step Emergency Tarp Installation Securing Your Roof
Once you’ve assessed the damage and gathered your materials, it’s time to install the temporary tarp. Remember, this is a temporary fix, not a permanent solution. Always work with a partner if possible, and never attempt repairs if the roof is wet, icy, or windy.
Step 1 Safety First and Initial Preparation
Ensure the weather has cleared and it’s safe to climb onto the roof. Clear any loose debris from the damaged area, but avoid removing anything that might be structurally integral. If there are sharp edges or exposed nails, be extra cautious.
Step 2 Measure and Cut the Tarp
Measure the damaged area and cut your tarp so it extends at least 2-3 feet beyond the damage on all sides. This overlap is crucial for effective waterproofing. For example, if you have a 5x5 foot hole, you'll want a tarp that's at least 9x9 feet.
Step 3 Position the Tarp Correctly
Carefully unfold and position the tarp over the damaged area. Ensure the tarp extends up the roof slope, ideally tucking it under any undamaged shingles above the leak. This allows water to flow over the tarp and down the roof, rather than getting underneath it. For flat roofs, ensure the tarp covers the entire damaged section and extends beyond the edges.
Step 4 Secure the Tarp Using Wood Strips
This is the most critical step for keeping the tarp in place, especially in windy conditions. Roll the edges of the tarp around 2x4 lumber strips. For the top edge (closest to the roof ridge), roll the tarp around a 2x4 and nail or screw it directly into the roof deck, through the tarp and into the rafters if possible. This creates a secure anchor point. For the side and bottom edges, roll the tarp around 2x4s and secure them with nails or screws into the roof deck. Space your fasteners every 12-18 inches. The goal is to create a tight, secure seal that prevents wind from getting underneath the tarp and lifting it. Avoid nailing directly through the center of the tarp, as this creates new holes.
Step 5 Alternative Securing Methods for Tarps
If nailing into the roof deck is not feasible or desired (e.g., on a metal roof where you don't want to create new holes), you can use sandbags or heavy objects placed along the edges of the tarp. However, this method is less secure in high winds and should only be considered a very temporary solution. Another option is using specialized tarp clips or bungee cords if there are existing anchor points on the roof or nearby structures, but these are generally less reliable than wood strips for long-term temporary protection.
Addressing Specific Types of Roof Damage Temporary Fixes
Different types of damage require slightly different approaches for temporary repair.
Missing Shingles Quick Fixes for Asphalt Shingles
If only a few shingles are missing, you can often slide new shingles (if you have spares) into place and secure them with roofing cement. For a temporary fix, a piece of heavy-duty plastic sheeting or even a section of a tarp can be cut to size and slid under the row of shingles above the missing ones, then secured with roofing cement or a few dabs of caulk. Ensure the plastic extends well beyond the damaged area.
Punctures and Small Holes Sealing Roof Penetrations
For small punctures from falling debris, a generous application of roofing cement or a high-quality exterior caulk can provide a temporary seal. For larger holes, cut a piece of plywood or thick plastic sheeting slightly larger than the hole. Apply a bead of roofing cement around the edges of the hole, place the patch over it, and then apply more roofing cement around the edges of the patch to seal it. You can also use a small piece of tarp secured with roofing cement.
Damaged Flashing Temporary Flashing Repair
Flashing around chimneys, vents, and skylights is crucial for preventing leaks. If flashing is bent or detached, carefully try to bend it back into place. Apply a generous amount of roofing cement or a specialized flashing sealant (e.g., Flex Seal Liquid Rubber Sealant or Gorilla Waterproof Patch & Seal Tape) to seal any cracks or gaps. For severely damaged flashing, a piece of tarp or heavy-duty plastic sheeting can be draped over the area and secured as described above, ensuring it extends well beyond the flashing and directs water away.
Broken Skylights or Windows Emergency Glazing
A broken skylight can let in a lot of water. For a temporary fix, clear away any loose glass shards (wear thick gloves and eye protection). Cut a piece of plywood or thick plastic sheeting to fit over the opening, extending a few inches beyond the frame. Secure it with screws or strong adhesive tape (like Gorilla Tape or T-Rex Tape) around the perimeter. Apply a bead of exterior caulk or roofing cement around the edges for a better seal. For a more robust temporary solution, a tarp can be draped over the entire skylight and secured to the roof around it.
Safety Precautions When Working on a Damaged Roof Prioritizing Your Well-being
Working on a roof, especially a damaged one, carries significant risks. Always prioritize safety:
- Never work alone: Always have someone with you who can assist or call for help if needed.
- Use a sturdy ladder: Ensure it’s placed on a firm, level surface and extends at least three feet above the roofline. Secure it at the top.
- Wear appropriate safety gear: Non-slip shoes, work gloves, and safety glasses are essential. A hard hat is also recommended.
- Avoid working in adverse conditions: Do not attempt roof repairs if it’s raining, windy, icy, or dark.
- Be aware of power lines: Keep a safe distance from any downed or overhead power lines.
- Distribute your weight: Step carefully and try to distribute your weight evenly to avoid further damage or falling through weakened sections of the roof.
- Know your limits: If the damage is extensive, the roof is too steep, or you feel uncomfortable, do not attempt the repair yourself. Call a professional.
When to Call a Professional Roofer Recognizing Your Limits
Emergency repairs are meant to be temporary. It’s crucial to contact a qualified roofing contractor as soon as possible after the storm. Here are situations where professional help is absolutely necessary:
- Extensive structural damage: If you see sagging, large holes, or significant portions of the roof deck exposed, a professional is needed immediately.
- Steep or high roofs: If your roof is too steep or too high to safely access with a ladder, don't risk it.
- Electrical hazards: If there are downed power lines or exposed electrical wiring near the roof, stay away and call emergency services.
- Unsafe conditions: If the weather is still severe, or if you feel unsafe for any reason, wait for professionals.
- Lack of experience or tools: If you don't have the necessary tools, materials, or experience, attempting a repair can cause more harm than good.
A professional roofer can accurately assess the full extent of the damage, provide a comprehensive repair plan, and ensure the work is done safely and effectively. They can also help you navigate the insurance claims process.
Insurance Claims and Documentation Maximizing Your Recovery
After performing temporary repairs, your next step should be to contact your insurance company. Here’s how to prepare:
- Document everything: Take clear photos and videos of all damage, both before and after your temporary repairs. Include close-ups and wide shots.
- Keep receipts: Save all receipts for materials purchased for temporary repairs. Your insurance policy may cover these costs.
- Contact your insurer promptly: The sooner you file a claim, the better.
- Get multiple quotes: Once a professional roofer assesses the damage, get at least two or three detailed quotes for the permanent repairs. This helps ensure you get a fair price and provides leverage with your insurance company.
Understanding your policy is also key. Review your homeowner's insurance policy to understand your coverage for storm damage, deductibles, and the claims process. Be prepared to provide all documentation to your insurance adjuster.
Preventative Measures for Future Storms Protecting Your Investment
While you can't prevent storms, you can take steps to make your roof more resilient:
- Regular roof inspections: Have your roof inspected annually by a professional to catch small issues before they become big problems.
- Trim trees: Keep tree branches trimmed back from your roof to prevent them from falling during high winds.
- Clean gutters: Clogged gutters can lead to water backup and damage to your roof and fascia.
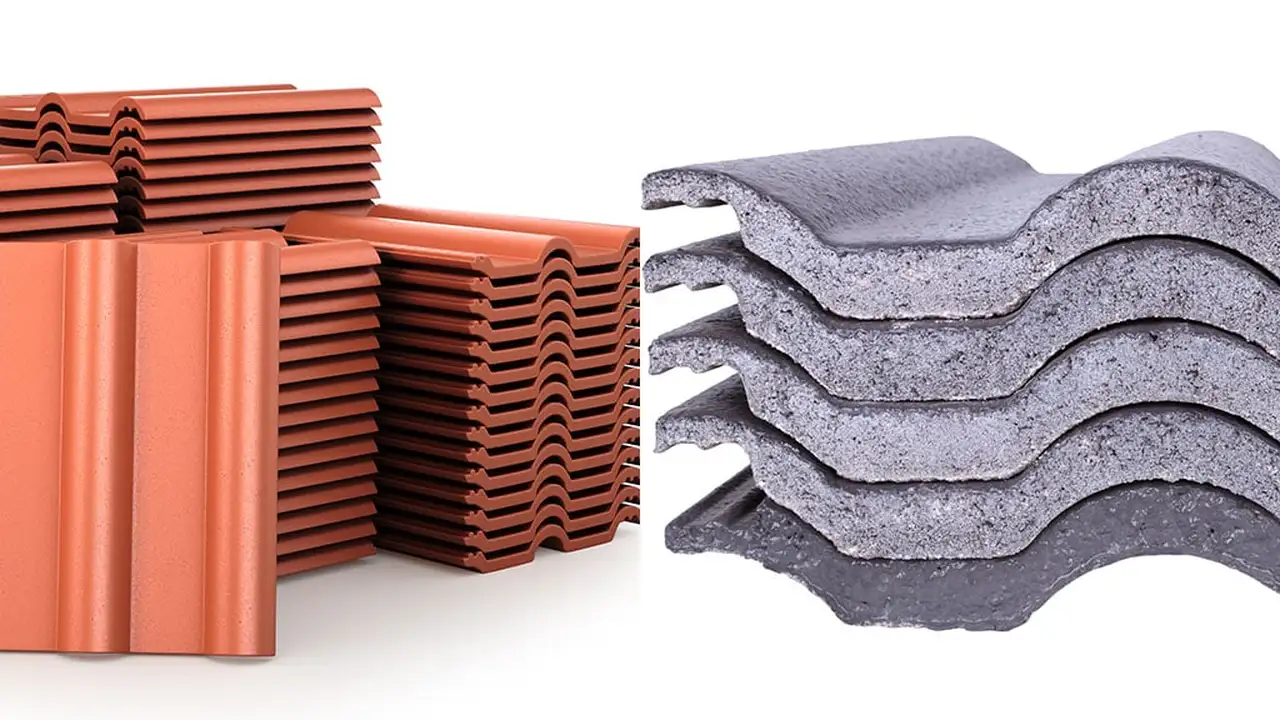
- Upgrade roofing materials: If you live in a storm-prone area, consider investing in impact-resistant shingles or metal roofing, which offer superior durability. For example, GAF Timberline HDZ shingles offer enhanced wind resistance, and CertainTeed Landmark Pro shingles are known for their durability. Metal roofing from brands like Fabral or Sheffield Metals provides excellent protection against hail and wind.
- Reinforce vulnerable areas: Ensure flashing around chimneys, vents, and skylights is properly installed and sealed.
By taking these proactive steps, you can significantly reduce the risk of severe storm damage to your roof and protect your home for years to come. Remember, a well-maintained roof is your home's first line of defense against the elements.
:max_bytes(150000):strip_icc()/277019-baked-pork-chops-with-cream-of-mushroom-soup-DDMFS-beauty-4x3-BG-7505-5762b731cf30447d9cbbbbbf387beafa.jpg)