Preventing Ice Dams on Your Roof
Strategies and tips to prevent ice dams from forming on your roof, protecting your home from water damage in cold climates.
Strategies and tips to prevent ice dams from forming on your roof, protecting your home from water damage in cold climates.
Preventing Ice Dams on Your Roof
Understanding Ice Dams What They Are and Why They Form
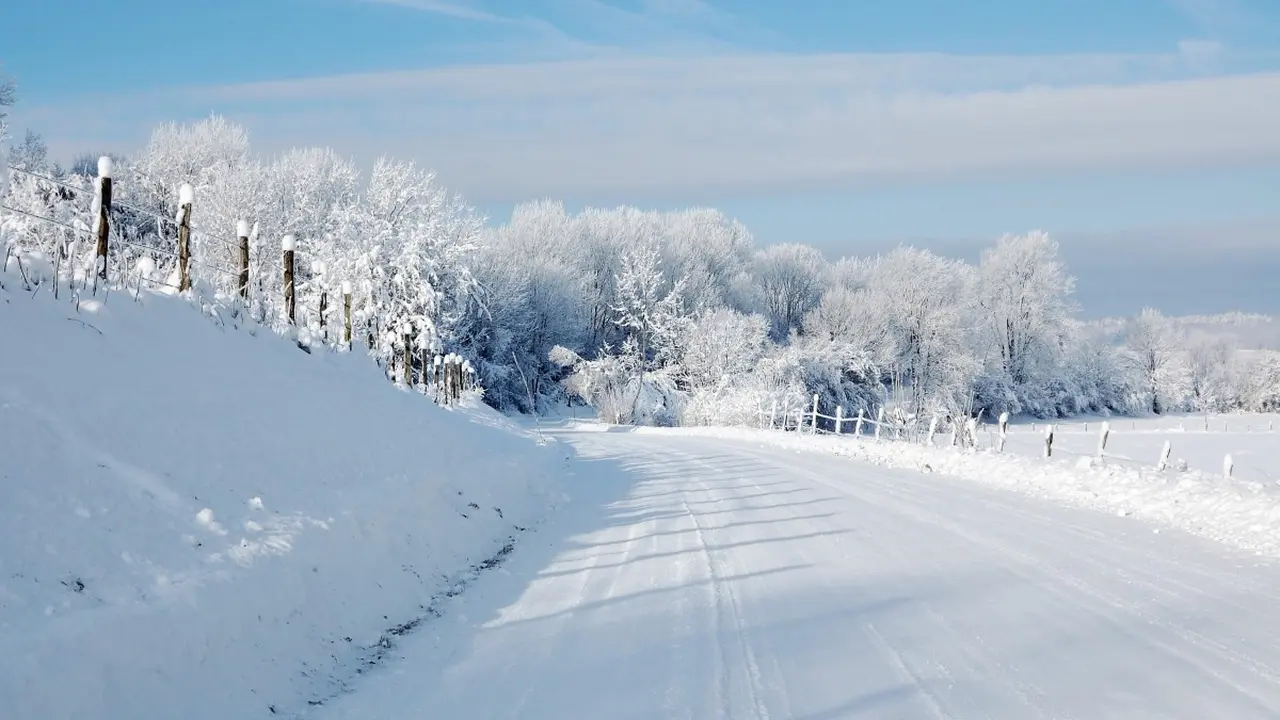
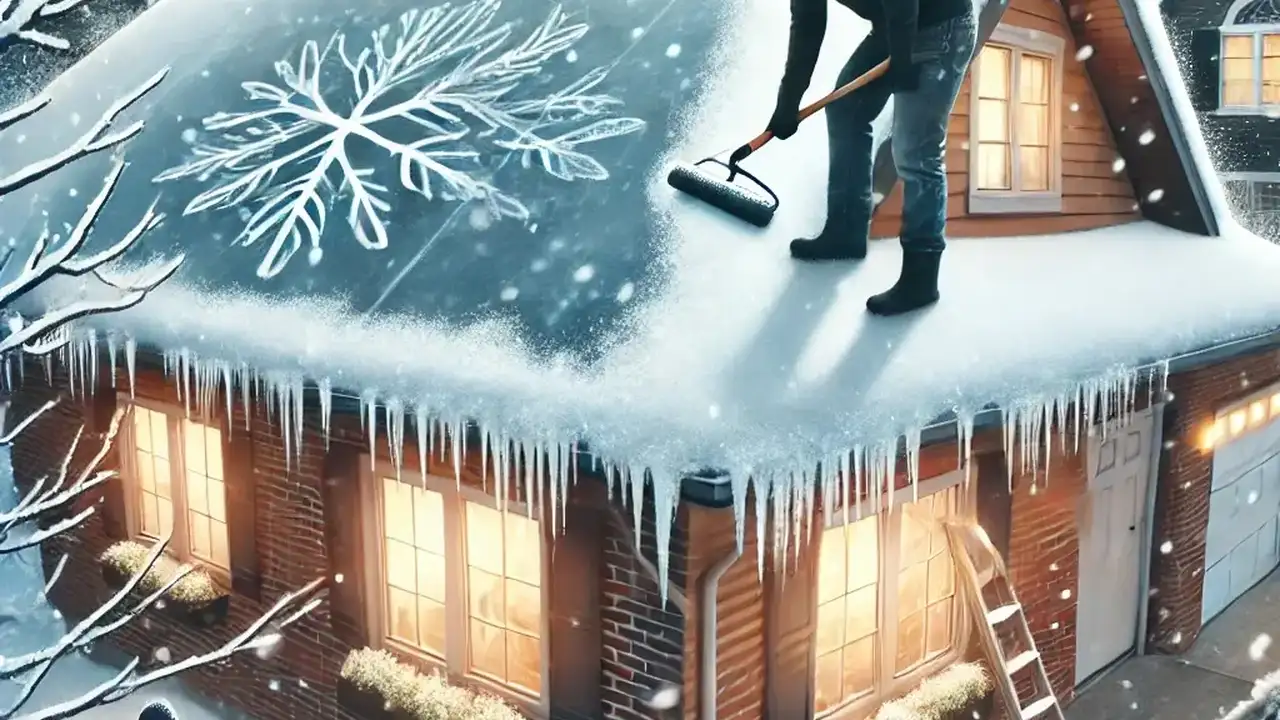
Alright, let's talk about ice dams. If you live in a cold climate, you've probably seen them, those thick ridges of ice that form at the edge of your roof, often with icicles hanging down. They might look pretty, but trust me, they're a homeowner's nightmare. An ice dam is essentially a barrier of ice that prevents melting snow from draining off your roof. When snow on the upper, warmer part of your roof melts, it runs down towards the colder eaves. If the eaves are below freezing, that water refreezes, creating a dam. As more snow melts, the water backs up behind this ice dam, forming a puddle. This trapped water can then seep under your shingles, through your roof deck, and into your attic, walls, and ceilings, causing significant water damage, mold growth, and even structural issues. It's a big deal, and understanding why they form is the first step to preventing them.
The Root Cause Poor Attic Insulation and Ventilation
So, what's really causing these pesky ice dams? It almost always boils down to two main culprits: inadequate attic insulation and poor attic ventilation. Think of it this way: your house is warm, right? Heat rises. If your attic isn't properly insulated, that heat escapes from your living space into your attic. This warms up the roof deck from underneath, causing the snow on the upper parts of your roof to melt. Meanwhile, the eaves, which extend beyond the heated part of your house, stay cold. This temperature difference is the perfect recipe for ice dam formation. Good insulation keeps the heat in your living space and out of your attic. Good ventilation, on the other hand, ensures that any heat that does make it into the attic is quickly carried away, keeping the entire roof surface, including the eaves, at a consistent, cold temperature, ideally matching the outside air temperature. When your roof is uniformly cold, snow melts evenly and drains off without refreezing.
Top Strategies for Ice Dam Prevention Effective Solutions
Now that we know the enemy, let's talk about how to fight it. Preventing ice dams is all about creating a 'cold roof' system. Here are the most effective strategies:
Improve Attic Insulation The First Line of Defense
This is arguably the most critical step. You want to create a thermal barrier between your heated living space and your attic. The goal is to keep your attic as close to the outdoor temperature as possible. Check your attic's insulation levels. In many older homes, insulation might be sparse or settled, reducing its effectiveness. The recommended R-value for attics varies by region, but generally, you're looking for R-38 to R-60 in colder climates. Common insulation types include:
- Fiberglass Batts: Easy to install, relatively inexpensive. Brands like Owens Corning and CertainTeed offer various R-values. For example, Owens Corning R-38 EcoTouch PINK FIBERGLAS™ Batts are a popular choice, costing around $0.70-$1.20 per square foot.
- Blown-in Cellulose or Fiberglass: Great for filling irregular spaces and achieving higher R-values. Companies like Greenfiber (cellulose) or Knauf Insulation (fiberglass) are good options. Blown-in insulation can cost anywhere from $1.00-$2.50 per square foot installed, depending on the depth.
- Spray Foam Insulation: Offers excellent air sealing and high R-value per inch. While more expensive (typically $2.00-$7.00 per square foot installed), it's highly effective. Gaco Western and Lapolla are well-known brands.
Application Scenario: If your attic floor joists are visible, you likely need more insulation. Aim for a consistent, deep layer across the entire attic floor, ensuring no gaps or compressed areas.
Enhance Attic Ventilation Keep it Breezy
Even with good insulation, some heat will inevitably escape into the attic. Proper ventilation ensures this heat is quickly expelled. You need a balanced system of intake vents (usually soffit vents) and exhaust vents (ridge vents, gable vents, or roof vents). The general rule of thumb is to have 1 square foot of net free vent area for every 300 square feet of attic floor space, with a 50/50 split between intake and exhaust.
- Soffit Vents: These are installed under the eaves and allow cool air to enter the attic. Make sure they aren't blocked by insulation. Brands like Lomanco and Air Vent offer continuous soffit vents or individual rectangular vents. A 10-foot section of continuous aluminum soffit vent might cost $15-$30.
- Ridge Vents: Installed along the peak of the roof, these allow warm, moist air to escape. They are very effective when paired with soffit vents. GAF Cobra® Ridge Vent and Owens Corning VentSure® Ridge Vents are popular choices, costing around $3-$6 per linear foot.
- Roof Vents (Static or Powered): These are individual vents installed on the roof surface. While less efficient than ridge vents for whole-attic ventilation, they can supplement a system. Static vents are cheaper ($15-$50 each), while powered vents (like Broan-NuTone or Master Flow) can cost $100-$300 but offer more active air movement.
Application Scenario: If you have a ridge vent but no soffit vents, or vice-versa, your system is unbalanced. You might also need to clear insulation from blocking existing soffit vents using baffles.
Seal Air Leaks Stop Heat from Escaping
Insulation and ventilation are crucial, but if warm air is directly leaking into your attic from your living space, you're fighting an uphill battle. Common culprits for air leaks include:
- Attic Hatch/Stairway: Seal around the edges with weatherstripping and add an insulated cover.
- Recessed Lights: Use IC-rated (insulation contact) fixtures and seal around them with caulk or foam.
- Plumbing Stacks and Electrical Wires: Seal gaps around these penetrations with expanding foam or caulk.
- Chimneys: Seal around the chimney chase with fire-rated caulk or flashing.
- Dropped Ceilings/Soffits: These can be major pathways for air leakage.
Products: For sealing smaller gaps, DAP Dynaflex 230 or GE Silicone II caulk work well (around $5-$10 per tube). For larger gaps, Great Stuff Pro Gaps & Cracks insulating foam sealant (around $10-$15 per can) is effective. For attic hatches, a DIY insulated cover can be made, or you can buy pre-made ones like the Battic Door Attic Stair Cover (around $150-$250).
Application Scenario: Use a smoke pencil or an incense stick on a cold, windy day to identify air leaks in your attic. Look for areas where the smoke is drawn upwards.
Install Eave Protection or Ice and Water Shield A Critical Barrier
This is a secondary defense, but a very important one, especially in areas prone to ice dams. Ice and water shield is a self-adhering, waterproof membrane that goes directly onto the roof deck before the shingles are installed. It's typically applied from the eaves up to at least 24 inches inside the warm wall line of the house, and often in valleys and around penetrations. If an ice dam does form and water backs up, this membrane prevents it from penetrating the roof deck.
- Brands: GAF StormGuard®, CertainTeed WinterGuard®, and Owens Corning WeatherLock® are leading brands.
- Cost: Expect to pay around $0.75-$1.50 per square foot for materials.
Application Scenario: This is usually installed during a new roof installation or a complete roof replacement. If you're not replacing your roof, you can't easily add this, which highlights the importance of insulation and ventilation.
Clear Gutters and Downspouts Ensure Proper Drainage
While not a direct cause of ice dams, clogged gutters can exacerbate the problem. If gutters are full of leaves and debris, melting snow has nowhere to go and can back up, contributing to ice dam formation. Keep your gutters clean, especially before winter.
- Gutter Guards: Consider installing gutter guards to prevent debris buildup. Brands like LeafFilter, Gutterglove, or even simpler mesh screens can help. Costs vary widely, from DIY mesh screens ($1-$3 per linear foot) to professional systems ($15-$30+ per linear foot installed).
Application Scenario: Regular gutter cleaning (at least twice a year, more if you have many trees) is essential. If you're tired of cleaning, gutter guards are a good investment.
Less Common or Temporary Solutions When Prevention Fails
Sometimes, despite your best efforts, an ice dam might still form, or you might be looking for a temporary fix. These aren't long-term solutions but can help in a pinch.
Roof Rakes Safely Remove Snow
A roof rake is a long-handled tool designed to pull snow off the lower edges of your roof while you stand safely on the ground. Removing the snow before it has a chance to melt and refreeze is a direct way to prevent ice dams.
- Products: Garant Yukon, Avalanche Original, and True Temper are popular brands.
- Cost: Typically $40-$100.
Application Scenario: Use after heavy snowfalls, focusing on the first few feet of snow above the eaves. Be careful not to damage shingles.
Heat Cables or De-icing Cables A Targeted Approach
These are electric cables that are installed in a zigzag pattern along the eaves and in gutters and downspouts. When turned on, they heat up, creating channels for melting snow to drain away. They are an energy-intensive solution and don't address the root cause, but they can be effective for persistent problem areas.
- Products: EasyHeat, Frost King, and Warmup offer various lengths and kits.
- Cost: A 100-foot cable kit might cost $100-$200, plus installation and electricity costs.
Application Scenario: Best for specific, recurring ice dam spots where other prevention methods are difficult or insufficient. Not recommended for entire roof coverage due to energy consumption.
Chemical De-icers Use with Caution
Calcium chloride or other ice-melting chemicals can be used to melt channels through existing ice dams. However, these can be corrosive to roofing materials, gutters, and landscaping, and the runoff can be harmful. Use sparingly and as a last resort.
- Products: Safe Step, Morton Salt, and various calcium chloride pellets.
- Cost: Around $20-$50 for a large bag.
Application Scenario: Only for emergency situations to create a temporary drainage path. Never chip away at ice dams with tools, as this can severely damage your roof.
Professional Help When to Call the Experts
While many of these tasks can be DIY projects, especially insulation and air sealing, some aspects are best left to professionals. If you're dealing with a complex roof structure, significant ventilation issues, or if you're uncomfortable working on ladders or in attics, don't hesitate to call a qualified roofing contractor or an energy auditor. They can perform a thorough inspection, identify the exact causes of your ice dams, and recommend the most effective and safest solutions for your specific home. Investing in professional help upfront can save you thousands in potential water damage repairs down the line.
Long Term Benefits Beyond Ice Dam Prevention
Addressing ice dam issues isn't just about avoiding winter headaches. Improving your attic insulation and ventilation has a host of other benefits. You'll likely see a significant reduction in your heating and cooling bills because your home will be more energy-efficient. Better ventilation also helps prevent moisture buildup in your attic, which can lead to mold, mildew, and premature deterioration of your roof structure. A well-insulated and ventilated attic contributes to a more comfortable indoor environment year-round and extends the lifespan of your roof. So, while ice dam prevention is the immediate goal, the long-term gains for your home's health and your wallet are substantial.
:max_bytes(150000):strip_icc()/277019-baked-pork-chops-with-cream-of-mushroom-soup-DDMFS-beauty-4x3-BG-7505-5762b731cf30447d9cbbbbbf387beafa.jpg)