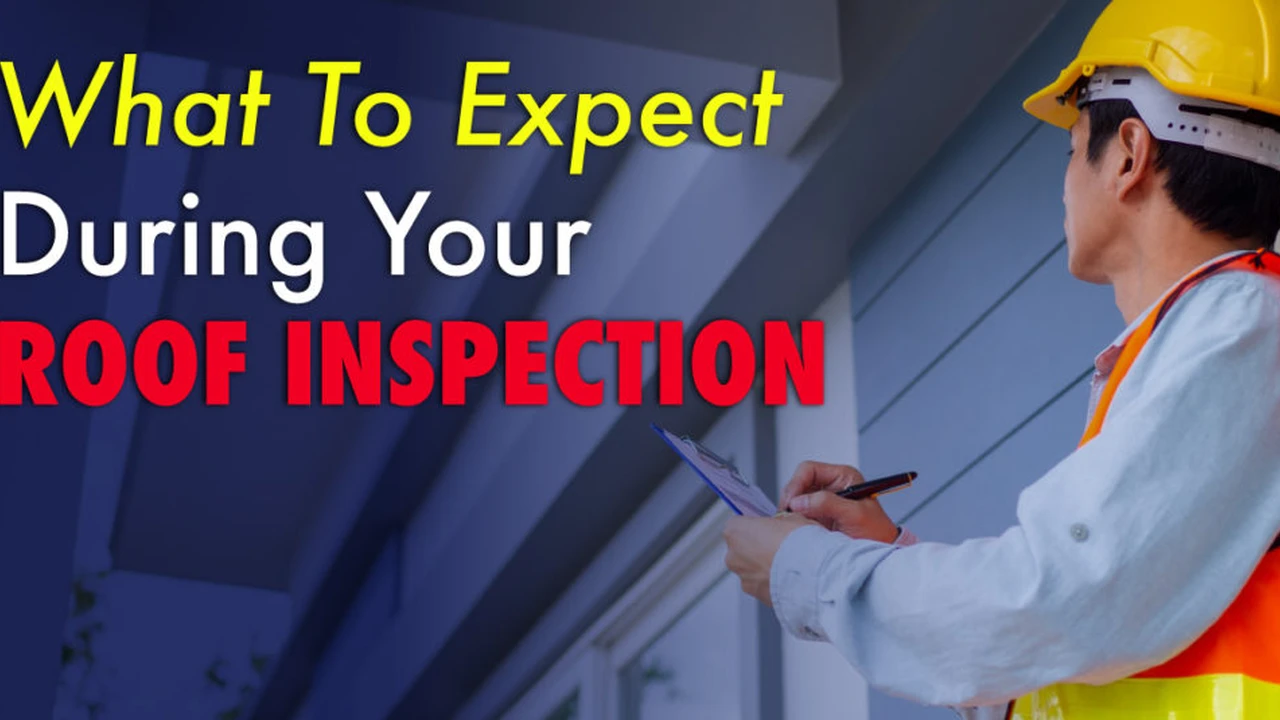
Roof Inspection What to Expect
Prepare for a professional roof inspection by understanding what inspectors look for and how they assess roof condition.
Prepare for a professional roof inspection by understanding what inspectors look for and how they assess roof condition.
Roof Inspection What to Expect
So, you're thinking about getting a roof inspection, or maybe it's time for a routine check-up. Great call! A professional roof inspection is super important for keeping your home safe and sound, especially if you live in areas like the US with its diverse weather, or Southeast Asia where monsoons and intense sun can really take a toll. But what exactly happens during one of these inspections? What are inspectors looking for? And how do they figure out the condition of your roof? Let's dive in and demystify the whole process.
Why a Roof Inspection is Your Home's Best Friend
Think of a roof inspection like a health check-up for your home. You wouldn't skip your annual physical, right? Your roof is your home's primary defense against the elements – rain, sun, wind, snow, you name it. Regular inspections can catch small issues before they turn into massive, costly problems. This is especially true for homeowners in places like Florida or the Philippines, where hurricanes and typhoons are a real threat, or even in colder US states where heavy snow can cause damage. An inspection can:
- Prevent Leaks: Catching a loose shingle or a tiny crack in the flashing can save you from water damage inside your home.
- Extend Roof Lifespan: Regular maintenance and early repairs can significantly prolong the life of your roof, delaying that expensive full replacement.
- Maintain Home Value: A well-maintained roof is a huge plus for curb appeal and resale value.
- Ensure Safety: A compromised roof can be a safety hazard. Inspections help ensure structural integrity.
- Validate Insurance Claims: Documentation from regular inspections can be crucial if you ever need to file an insurance claim for storm damage.
When Should You Get a Roof Inspection Done
While an annual inspection is a good rule of thumb, there are specific times when it's absolutely essential:
- After a Major Storm: High winds, hail, heavy rain, or snow can cause hidden damage. Get an inspection as soon as possible.
- Before Buying or Selling a Home: A pre-purchase inspection can save buyers from inheriting costly roof problems, and a pre-listing inspection can help sellers address issues proactively.
- If You Notice Obvious Damage: Missing shingles, sagging, or water stains on your ceiling are clear signs you need an immediate inspection.
- When Your Roof is Approaching its Lifespan: As your roof gets older (e.g., asphalt shingles typically last 20-25 years), inspections become more critical to assess its remaining life.
The Professional Roof Inspection Process Step by Step
A thorough roof inspection isn't just a quick glance from the ground. It's a detailed, systematic process. Here's what you can generally expect:
1. Initial Ground Level Assessment and Safety First
Before even stepping onto your roof, the inspector will do a walk-around of your property. They'll look for:
- Debris on the Ground: Are there shingle granules in your gutters or on the lawn? This can indicate wear.
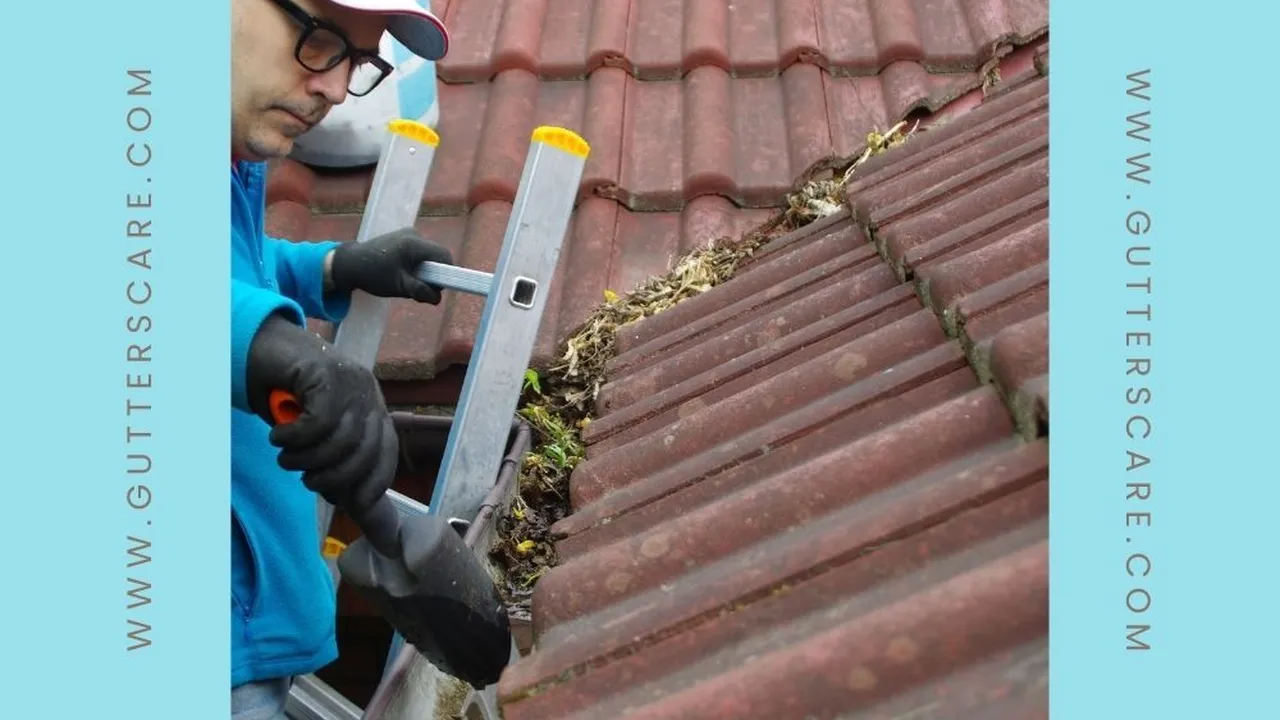
- Gutter Condition: Are gutters clogged, damaged, or pulling away from the fascia? This can lead to water overflow and roof edge damage.
- Siding and Chimney: Are there any signs of water runoff or staining on your siding or chimney that might indicate a roof leak?
- Overall Roof Sagging: From a distance, they can often spot obvious dips or sags in the roofline, which could point to structural issues.
Safety is paramount. Inspectors will ensure they have the right equipment – ladders, safety harnesses, and appropriate footwear – before climbing onto your roof.
2. On the Roof Detailed Examination Key Areas
This is where the real detective work happens. The inspector will systematically examine every part of your roof. Here's a breakdown of what they're looking for:
Shingles or Roofing Material Condition
- Asphalt Shingles: They'll check for missing, cracked, curled, buckled, or blistering shingles. Granule loss is a big indicator of aging.
- Metal Roofs: Inspectors look for rust, loose fasteners, dents, scratches, or separation at seams.
- Tile Roofs (Clay/Concrete): They'll check for cracked, broken, or loose tiles, and ensure proper underlayment is visible where tiles overlap.
- Wood Shakes/Shingles: Splitting, rotting, or insect damage are key concerns.
- Flat Roofs (TPO, EPDM, PVC): They'll look for punctures, tears, bubbling, ponding water, and compromised seams.
Flashing Integrity Critical Leak Points
Flashing is arguably the most critical component for preventing leaks. It's the metal (or sometimes rubber) material installed around roof penetrations and transitions. Inspectors will meticulously check:
- Chimneys: Are the step flashing and counter flashing properly sealed and intact?
- Vents and Skylights: Is the flashing around these openings tight and free of cracks or gaps?
- Valleys: These are where two roof planes meet, forming a 'V' shape. Flashing here is crucial.
- Wall Abutments: Where the roof meets a vertical wall.
- Pipe Boots: The rubber seals around vent pipes. These are notorious for cracking due to UV exposure.
Gutters and Downspouts Drainage System Check
While not directly part of the roof surface, gutters and downspouts are vital for proper roof drainage. Inspectors will check for:
- Clogs: Leaves, debris, and shingle granules can block water flow.
- Damage: Dents, holes, or sections pulling away from the fascia.
- Proper Pitch: Ensuring gutters are angled correctly to direct water towards downspouts.
- Downspout Functionality: Are they directing water away from the foundation?
Soffit and Fascia Examination Eaves and Overhangs
These components protect the eaves and provide ventilation. Inspectors look for:
- Rot or Water Damage: Often a sign of gutter issues or ice damming.
- Pest Infestation: Gaps or holes can allow birds, rodents, or insects into your attic.
- Proper Ventilation: Ensuring soffit vents aren't blocked.
Attic Inspection Interior View of the Roof
If accessible, a good inspector will also go into your attic. This provides an invaluable 'inside-out' view of your roof's condition. They'll look for:
- Water Stains or Leaks: Obvious signs of water intrusion on the underside of the roof deck or insulation.
- Mold or Mildew: Indicates moisture problems, often due to leaks or poor ventilation.
- Sagging Decking: Can point to structural issues or water damage.
- Proper Ventilation: Is there adequate airflow? Blocked vents can lead to heat and moisture buildup.
- Pest Activity: Signs of rodents, insects, or other critters.
Tools and Technology Used by Roof Inspectors
Modern roof inspections go beyond just a pair of eyes and a ladder. Inspectors often use a range of tools to get a comprehensive picture:
- Moisture Meters: These devices can detect hidden moisture within the roof structure or attic, even if there are no visible stains.
- Thermal Imaging Cameras: Especially useful for flat roofs or in colder climates, thermal cameras can identify temperature differences that indicate water intrusion or insulation deficiencies.
- Drones: For large or steep roofs, drones equipped with high-resolution cameras can provide safe and detailed aerial views, capturing images of hard-to-reach areas. This is becoming increasingly popular in both the US and Southeast Asia for efficiency and safety.
- Digital Cameras: For documenting all findings, both good and bad, for the inspection report.
- Measuring Tapes and Rulers: For assessing damage size and roof dimensions.
Assessing Roof Condition What Do the Findings Mean
After the inspection, you'll receive a detailed report. This report will typically categorize findings and provide recommendations. Here's what those findings might mean:
- Minor Repairs Needed: This could be a few loose shingles, a small crack in flashing, or clogged gutters. These are usually quick and relatively inexpensive fixes.
- Moderate Repairs/Maintenance: This might involve replacing a section of flashing, repairing a small area of damaged decking, or addressing ventilation issues.
- Significant Repairs or Partial Replacement: If a large section of your roof is severely damaged (e.g., extensive hail damage, widespread rot), a partial replacement might be recommended.
- Full Roof Replacement Recommended: This is the big one. If the roof is past its useful life, has widespread structural damage, or multiple major issues, a full replacement will be advised.
The report should also include photos of any issues found, making it easier for you to understand the problems and discuss them with contractors or insurance adjusters.
Choosing the Right Roof Inspector or Company
This is crucial! Not all inspectors are created equal. Here's what to look for:
- Experience and Certifications: Look for inspectors with specific roofing experience and relevant certifications (e.g., from professional home inspection associations or roofing industry bodies).
- Insurance: Ensure they carry liability insurance.
- References and Reviews: Check online reviews and ask for references.
- Detailed Reports: A good inspector provides a comprehensive, easy-to-understand report with photos.
- No Conflict of Interest: Ideally, choose an inspector who doesn't also offer roofing repair or replacement services. This ensures an unbiased assessment.
Recommended Inspection Tools and Technologies for Homeowners and Professionals
While a professional inspection is always best, understanding some of the tools can help you appreciate the process. For professionals, investing in quality equipment is key. For homeowners, knowing what's out there can help you ask the right questions.
1. DJI Mavic 3 Enterprise Drone for Aerial Inspections
Description: This isn't your average consumer drone. The DJI Mavic 3 Enterprise is a professional-grade drone equipped with a high-resolution camera and often thermal imaging capabilities. It's designed for detailed inspections, allowing inspectors to capture precise images and videos of roof surfaces, even on very steep or high roofs, without putting themselves at risk. Its obstacle avoidance and stable flight make it ideal for complex environments.
Use Case: Perfect for large commercial roofs, multi-story residential buildings, or roofs with difficult access. It can quickly identify missing shingles, damaged flashing, or areas of ponding water from a safe distance. In Southeast Asia, where roofs can be very steep and weather conditions unpredictable, drones offer a significant safety advantage.
Comparison: Far superior to consumer drones in terms of camera quality, flight stability, and specialized features for inspection. More robust than handheld cameras for inaccessible areas.
Estimated Price: $3,500 - $6,000 (depending on configuration and accessories).
2. FLIR ONE Pro Thermal Camera for Moisture Detection
Description: The FLIR ONE Pro is a compact thermal imaging camera that attaches to your smartphone. It uses advanced thermal technology to detect subtle temperature differences, which can indicate hidden moisture, insulation gaps, or even pest infestations within your roof structure or attic. It's incredibly useful for identifying leaks that aren't yet visible to the naked eye.
Use Case: Ideal for attic inspections to pinpoint water intrusion, especially after a storm. It can also be used on flat roofs to identify areas where water might be trapped beneath the membrane. Homeowners can use a simpler version for basic checks, but the Pro model offers higher resolution and accuracy for professionals.
Comparison: More affordable and portable than standalone professional thermal cameras, yet still provides excellent diagnostic capabilities. Much more effective than just visual inspection for hidden moisture.
Estimated Price: $400 - $500.
3. Tramex Moisture Encounter Plus Non-Destructive Moisture Meter
Description: This is a professional-grade, non-destructive moisture meter. Unlike pin-type meters that can damage surfaces, the Tramex MEP uses impedance technology to scan for moisture content in various building materials, including roofing, insulation, and wood, without leaving any marks. It provides instant readings, helping inspectors quickly identify damp areas.
Use Case: Essential for confirming suspected moisture issues identified visually or with a thermal camera. It's used to check the moisture content of roof decking from the attic side, or even on the roof surface itself (depending on the material) to confirm water saturation.
Comparison: Superior to basic pin-type meters for non-destructive testing. Offers more accurate and reliable readings than simple 'feel' tests for dampness.
Estimated Price: $500 - $700.
4. Ladder Safety System Werner Fall Protection Kit
Description: While not a diagnostic tool, a robust ladder safety system is absolutely critical for any professional roof inspector. A kit like the Werner Fall Protection Kit typically includes a full-body harness, a lanyard, and a rope grab with a lifeline. This ensures that if an inspector slips or loses balance on a steep or wet roof, they are safely secured.
Use Case: Mandatory for any inspector working on roofs, especially those with significant pitch or height. It's a non-negotiable item for ensuring the safety of the inspection team.
Comparison: Far safer than relying solely on ladder stability. Essential for compliance with safety regulations and protecting personnel.
Estimated Price: $150 - $300.
The Takeaway on Roof Inspections
Getting a professional roof inspection is a smart investment for any homeowner, whether you're in the bustling suburbs of the US or a quiet village in Vietnam. It's about peace of mind, protecting your biggest asset, and avoiding unexpected, costly surprises down the line. By understanding what goes into an inspection and what inspectors are looking for, you'll be better prepared to maintain your roof and ensure your home stays protected for years to come. Don't wait until you see a drip – be proactive and get that roof checked out!
:max_bytes(150000):strip_icc()/277019-baked-pork-chops-with-cream-of-mushroom-soup-DDMFS-beauty-4x3-BG-7505-5762b731cf30447d9cbbbbbf387beafa.jpg)