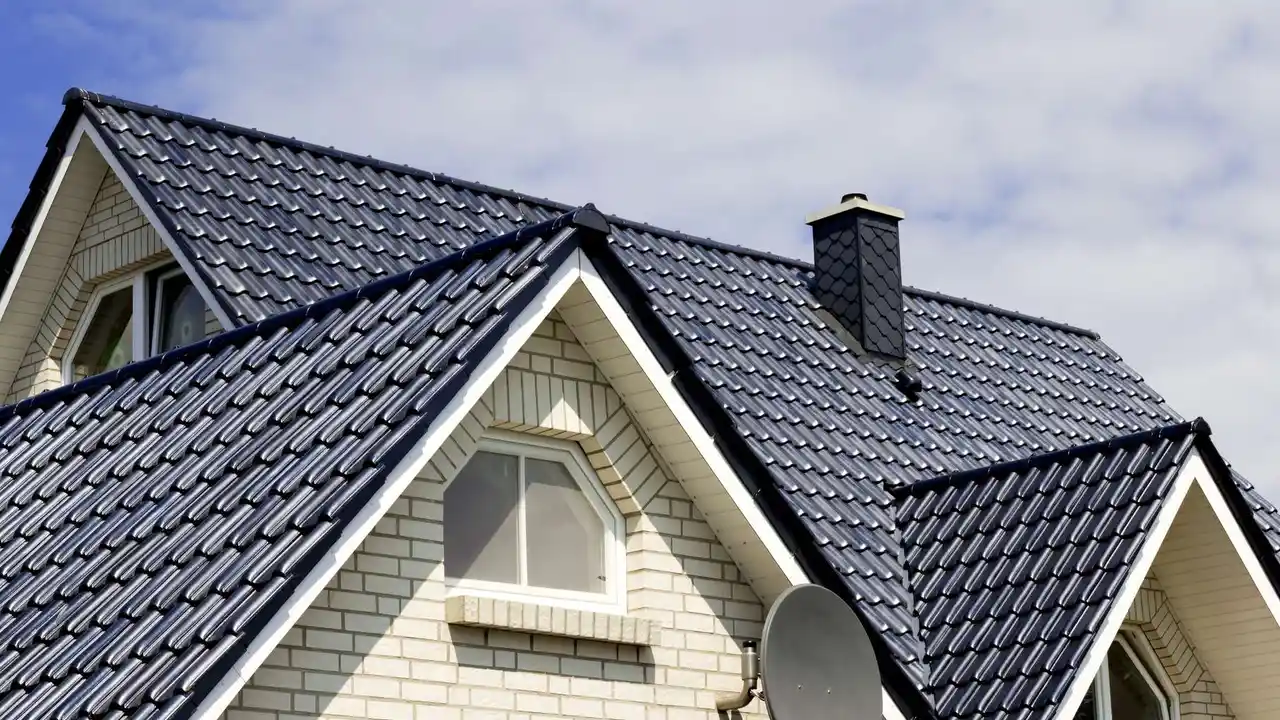
Sustainable Roofing Innovations for Green Homes
Learn how thermal imaging technology is used to accurately detect hidden roof leaks and moisture issues.
Learn how thermal imaging technology is used to accurately detect hidden roof leaks and moisture issues.
Thermal Imaging for Roof Leak Detection
Hey there, homeowners and roofing pros! Ever had that nagging feeling that your roof might be leaking, but you just can't pinpoint where the water is coming from? It's a common headache, and traditional methods of leak detection can be time-consuming, destructive, and often, a shot in the dark. But what if I told you there's a super cool, non-invasive technology that can literally see what's happening beneath your roof's surface? Yep, we're talking about thermal imaging, and it's a game-changer for finding those sneaky hidden roof leaks and moisture issues.
Understanding Thermal Imaging How it Works for Roofs
So, how does this magic work? Thermal imaging, also known as infrared thermography, uses special cameras to detect infrared radiation emitted by objects. Everything around us emits some level of infrared energy, and the amount of energy emitted depends on the object's temperature. Thermal cameras translate these infrared emissions into a visual image, where different colors represent different temperatures. Think of it like a heat map.
When it comes to roofs, this technology is incredibly useful because water has a higher thermal mass than dry roofing materials. This means water absorbs and retains heat differently than dry areas. During the day, the sun heats up your roof. As the roof cools down in the evening, areas where moisture is trapped beneath the surface will retain heat longer than the dry areas. A thermal camera can pick up on these subtle temperature differences, showing you exactly where moisture is lurking, even if it's not visible to the naked eye.
Imagine a sunny day. Your roof gets nice and warm. As the sun sets, the dry parts of your roof start to cool down pretty quickly. But any areas where water has seeped in, perhaps from a tiny crack or a compromised seal, will hold onto that daytime heat for much longer. When a thermal camera scans your roof in the evening or early morning, these water-logged spots will appear warmer (often in brighter colors like red or yellow on the thermal image) compared to the cooler, dry sections (which might show up as blues or purples). This contrast is what allows experienced thermographers to identify potential leak points and areas of trapped moisture.
Benefits of Thermal Imaging for Roof Inspections and Leak Detection
Why should you consider thermal imaging for your roof? Well, the benefits are pretty compelling:
- Non-Invasive and Non-Destructive: Unlike traditional methods that might involve tearing up parts of your roof to find a leak, thermal imaging doesn't require any physical contact or damage. This saves you time, money, and the headache of unnecessary repairs.
- Accuracy and Precision: Thermal cameras can pinpoint the exact location of moisture intrusion, even if it's hidden deep within the roofing system. This means repairs can be targeted and efficient, addressing the root cause of the problem.
- Early Detection of Moisture Issues: Catching moisture problems early can prevent them from escalating into major structural damage, mold growth, or costly roof replacements down the line. Thermal imaging can detect moisture before it becomes visible as a stain on your ceiling.
- Time and Cost Savings: By quickly identifying the problem areas, thermal imaging reduces the time spent on inspections and the overall cost of repairs. No more guessing games!
- Comprehensive Roof Assessment: Beyond just leaks, thermal imaging can also reveal other issues like insulation deficiencies, air leaks, and even pest infestations that affect thermal patterns.
- Safety: For large or complex roofs, using drones equipped with thermal cameras can significantly reduce the need for personnel to be on the roof, enhancing safety.
When to Use Thermal Imaging for Your Roof
Thermal imaging isn't just for when you suspect a leak. It's a fantastic tool for proactive maintenance and various scenarios:
- Suspected Leaks: This is the most obvious use. If you see water stains, peeling paint, or feel dampness, but can't find the source, thermal imaging is your best bet.
- Post-Storm Inspections: After heavy rain, hail, or strong winds, a thermal scan can quickly identify any new damage or moisture intrusion that might not be immediately visible.
- Routine Maintenance Checks: Incorporating thermal imaging into your annual roof inspection can help catch small issues before they become big problems, extending the life of your roof.
- Before and After Roof Repairs: Use it before repairs to confirm the extent of the damage and after to verify that all moisture has been removed and the repair was successful.
- New Roof Installation Quality Control: For commercial buildings or large residential projects, a thermal scan after installation can ensure there are no hidden defects or areas prone to moisture.
- Energy Audits: Thermal imaging can also identify areas of poor insulation or air leakage, helping you improve your home's energy efficiency.
Choosing the Right Thermal Camera for Roof Inspections
While professional services are often recommended, some advanced DIYers or small contractors might consider purchasing a thermal camera. Here are a few popular models and what makes them suitable for roof inspections:
FLIR ONE Pro Series Thermal Camera for Smartphones
- Description: This is a fantastic entry-level option that attaches directly to your smartphone (iOS or Android). It's compact, easy to use, and surprisingly powerful for its size.
- Key Features: MSX technology (combines thermal and visual images for enhanced detail), VividIR image processing, spot temperature measurement, and a robust app for analysis and reporting.
- Use Case: Great for homeowners wanting to do preliminary checks, small contractors, or as a supplementary tool for larger inspections. It's perfect for quickly scanning accessible roof sections or interior ceilings for signs of moisture.
- Price Range: Typically $300 - $500.
- Pros: Affordable, portable, user-friendly, good image quality for its price point.
- Cons: Limited resolution compared to professional-grade cameras, relies on smartphone battery, might not be ideal for very large or complex roofs.
FLIR C5 Compact Thermal Camera with MSX
- Description: A step up from the smartphone attachment, the FLIR C5 is a standalone, pocket-sized thermal camera designed for professionals. It's rugged and built for field use.
- Key Features: 160 x 120 (19,200 pixels) thermal resolution, 5-megapixel visual camera, MSX, Wi-Fi connectivity for cloud storage and sharing, built-in LED light.
- Use Case: Ideal for small to medium-sized roofing contractors, home inspectors, and property managers who need a dedicated, reliable thermal camera for frequent use. It offers better resolution and durability than smartphone attachments.
- Price Range: Approximately $700 - $1,000.
- Pros: Excellent portability, good resolution for its size, durable, integrated visual camera, easy reporting.
- Cons: Still not as high-resolution as top-tier professional cameras, screen size can be small for detailed analysis on-site.
Seek Thermal RevealPRO Thermal Camera
- Description: Another strong contender in the compact professional category, the Seek Thermal RevealPRO offers impressive thermal sensitivity and a durable design.
- Key Features: 320 x 240 (76,800 pixels) thermal sensor, 15 Hz frame rate, adjustable emissivity, multiple color palettes, and a powerful LED flashlight.
- Use Case: Suited for serious DIYers, home inspectors, and roofing professionals who need higher resolution and more advanced features than entry-level models. The higher resolution makes it easier to identify subtle temperature differences over larger areas.
- Price Range: Around $700 - $1,000.
- Pros: High thermal resolution for its price, robust build, integrated flashlight, good battery life.
- Cons: Lacks a visual camera for MSX-like blending (though some models have it), user interface might be less intuitive for some compared to FLIR.
FLIR E8 Pro Advanced Thermal Camera
- Description: This is a professional-grade thermal camera offering significantly higher resolution and advanced features for detailed inspections.
- Key Features: 320 x 240 (76,800 pixels) thermal resolution, 3.5-inch touchscreen, MSX, Wi-Fi, and a wide temperature range.
- Use Case: Perfect for experienced roofing contractors, commercial property inspectors, and building science professionals who require precise, high-quality thermal images for comprehensive reports and diagnostics on larger or more complex roofing systems.
- Price Range: $2,500 - $4,000.
- Pros: High resolution, excellent image quality, robust software for analysis, durable, professional-grade performance.
- Cons: Significantly more expensive, larger and less pocketable than compact models.
Drones with Thermal Cameras for Large Scale Roof Inspections
- Description: For very large commercial roofs or inaccessible areas, drones equipped with high-resolution thermal cameras are becoming increasingly popular. Brands like DJI offer drones that can carry thermal payloads.
- Key Features: High-resolution thermal and visual cameras, GPS waypoint navigation, automated flight paths, advanced image stabilization, and sophisticated software for mapping and analysis.
- Use Case: Ideal for large commercial buildings, industrial facilities, multi-unit residential complexes, or any roof where manual inspection is difficult, dangerous, or time-consuming.
- Price Range: Drone platforms with thermal cameras can range from $5,000 to $20,000+, depending on the drone and thermal payload.
- Pros: Covers large areas quickly, enhances safety by keeping personnel off the roof, provides comprehensive aerial views, highly detailed data.
- Cons: High initial investment, requires specialized training and licensing for drone operation, weather-dependent.
The Best Time for Thermal Roof Inspections
Timing is everything when it comes to thermal imaging. The ideal conditions for a thermal roof inspection are usually:
- After Sunset or Before Sunrise: This is when the temperature difference between dry and wet areas is most pronounced. The roof has had a chance to heat up during the day and is now cooling down.
- Clear Skies: Clouds can act as an insulator, reducing the temperature differential.
- No Wind: Strong winds can rapidly cool the roof surface, making it harder to detect subtle temperature variations.
- Dry Conditions: The roof surface should be dry. If it's wet from rain, the entire surface will appear cool, masking any underlying moisture issues.
Typically, a professional thermographer will schedule the inspection for late evening or early morning, often several hours after sunset, to capture the best thermal contrast.
What to Expect During a Thermal Roof Inspection
When you hire a professional for a thermal roof inspection, here's a general idea of what will happen:
- Pre-Inspection Briefing: The thermographer will discuss your concerns, the history of the roof, and any known issues.
- Visual Inspection: A preliminary visual inspection is often conducted to identify obvious damage or areas of concern.
- Thermal Scan: The thermographer will systematically scan the entire roof surface with their thermal camera, looking for temperature anomalies. For large roofs, this might involve walking the roof or using a drone.
- Data Collection: Thermal images and sometimes visual photos are captured of any suspicious areas.
- Analysis and Reporting: The collected data is then analyzed using specialized software. A detailed report will be generated, including thermal images, visual images, a description of findings, and recommendations for repair.
- Post-Inspection Discussion: The thermographer will review the report with you, explaining the findings and answering any questions.
Interpreting Thermal Images for Moisture Detection
While thermal images might look cool, interpreting them correctly requires training and experience. Here's what a professional looks for:
- Hot Spots (Warmer Areas): These are typically the areas where moisture is trapped beneath the roofing membrane. As mentioned, water retains heat longer than dry materials.
- Cold Spots (Cooler Areas): Sometimes, a cold spot can indicate a breach in the roof membrane where cooler air is entering, or it could be an area of missing insulation.
- Patterns and Shapes: Moisture often creates distinct patterns, like irregular shapes or streaks, that stand out from the uniform temperature of dry areas.
- Contextual Clues: The thermographer will also consider the roof's construction, age, and any visible damage to help interpret the thermal data accurately.
It's important to remember that thermal imaging detects temperature differences, not water directly. An experienced thermographer can differentiate between moisture, insulation issues, or other thermal anomalies. That's why hiring a certified professional is often the best route, especially for significant investments like your roof.
DIY Thermal Imaging for Homeowners What to Know
If you're a handy homeowner and considering a DIY approach with a smartphone attachment or a compact thermal camera, here are a few tips:
- Understand Limitations: These cameras are great for initial scans and smaller areas, but they won't have the resolution or advanced features of professional equipment.
- Safety First: Always prioritize safety when working on your roof. If you're uncomfortable or the roof is steep, call a professional.
- Practice Makes Perfect: Get familiar with your camera and its app. Practice scanning different surfaces to understand how temperature differences appear.
- Scan at the Right Time: Remember the ideal conditions: after sunset, clear skies, no wind, and a dry roof.
- Look for Patterns: Don't just look for a single hot spot. Look for irregular patterns that suggest trapped moisture.
- Confirm with Other Methods: If you find a suspicious area, you might need to confirm it with a moisture meter or by carefully inspecting the area from the attic.
- When in Doubt, Call a Pro: If you're unsure about your findings or the problem seems extensive, don't hesitate to call a professional roofing contractor or a certified thermographer.
The Future of Roof Leak Detection and Thermal Technology
Thermal imaging is constantly evolving. We're seeing more advanced drone integration, AI-powered analysis that can automatically identify anomalies, and even more compact and affordable cameras with higher resolutions. This technology is making roof maintenance smarter, more efficient, and ultimately, saving homeowners and businesses a lot of money and stress by catching problems before they become catastrophic. So, if you're dealing with a mysterious leak or just want to be proactive about your roof's health, thermal imaging is definitely a technology worth exploring.
:max_bytes(150000):strip_icc()/277019-baked-pork-chops-with-cream-of-mushroom-soup-DDMFS-beauty-4x3-BG-7505-5762b731cf30447d9cbbbbbf387beafa.jpg)