Understanding Roof Underlayment Options
A comprehensive guide to different roof underlayment types and their importance for roof protection and longevity.
A comprehensive guide to different roof underlayment types and their importance for roof protection and longevity.
Understanding Roof Underlayment Options Your Ultimate Guide to Roof Protection
Hey there, homeowners! Let's talk about something super important but often overlooked when it comes to your roof: the underlayment. Think of it as your roof's unsung hero, the crucial layer beneath your shingles or tiles that provides an extra shield against the elements. It's not just about what you see on top; what's underneath plays a massive role in your roof's overall protection and how long it lasts. Whether you're in the sunny climes of Southeast Asia or dealing with diverse weather across the US, understanding roof underlayment options is key to a resilient home. This guide will walk you through everything you need to know, from different types and their benefits to installation tips and product recommendations.
What is Roof Underlayment and Why is it So Important for Home Roofing
So, what exactly is roof underlayment? In simple terms, it's a protective layer installed directly onto your roof deck before the final roofing material (like shingles, tiles, or metal panels) goes on. Its primary job is to provide a secondary barrier against water penetration, especially during heavy rains, strong winds, or if your primary roofing material gets damaged. It also helps protect your roof deck from moisture during installation and can even contribute to fire resistance and energy efficiency. Without proper underlayment, your roof deck is vulnerable to rot, mold, and leaks, which can lead to costly structural damage inside your home. It's an essential component for any durable roofing system, offering peace of mind against unpredictable weather.
Types of Roof Underlayment Exploring Asphalt Saturated Felt Synthetic and Self Adhering Options
When it comes to roof underlayment, you've got a few main players, each with its own set of pros and cons. Let's break them down:
Asphalt Saturated Felt Underlayment The Traditional Choice for Roof Protection
This is the old-school option, often referred to as 'tar paper.' It's been around for ages and is still widely used, especially for asphalt shingle roofs. It's made from a base mat (like fiberglass or organic felt) that's saturated with asphalt, making it water-resistant. You'll typically find it in two main weights: 15-pound felt and 30-pound felt. The 30-pound felt is thicker, more durable, and offers better protection, but it's also heavier and a bit more expensive.
Pros of Asphalt Saturated Felt:
- Cost-Effective: Generally the most budget-friendly option.
- Proven Track Record: It's been used for decades with good results.
- Breathable: Allows some moisture vapor to escape, which can be good for certain roof types.
Cons of Asphalt Saturated Felt:
- Tears Easily: Can be prone to tearing during installation or in high winds.
- Less Durable: Not as long-lasting as synthetic options, especially when exposed to UV rays for extended periods.
- Absorbs Moisture: Can absorb some moisture, which might lead to wrinkling or buckling.
- Heavy: 30-pound felt can be cumbersome to work with.
Common Use Cases:
Best suited for asphalt shingle roofs in moderate climates where extreme weather isn't a constant threat. It's a solid choice for homeowners looking for a reliable, economical option.
Product Recommendations and Pricing (US Market):
- GAF FeltBuster High-Traction Synthetic Felt: While GAF also offers traditional felt, their FeltBuster is a hybrid that bridges the gap. A roll of 15-pound equivalent might cost around $40-$60.
- CertainTeed Roofer's Select: A popular 15-pound asphalt-saturated felt. Expect to pay around $30-$50 per roll.
- Owens Corning DeckWrap: A 30-pound felt option, offering enhanced protection. Prices typically range from $50-$80 per roll.
Synthetic Underlayment The Modern Solution for Enhanced Roof Durability
Synthetic underlayment is the newer kid on the block and has quickly gained popularity. It's made from polypropylene or polyethylene, often reinforced with fiberglass, making it incredibly strong, lightweight, and resistant to tearing. It's a fantastic choice for almost any roofing material, including asphalt shingles, metal, tile, and slate.
Pros of Synthetic Underlayment:
- Extremely Durable: Much stronger and more tear-resistant than felt, making installation easier and safer.
- Lightweight: Easier to handle and install, especially on large roofs.
- Water-Resistant: Excellent water shedding properties, often outperforming felt.
- UV Resistant: Many synthetic underlayments can be exposed to UV rays for longer periods without degrading, which is great if your roofing project takes a while.
- Mold and Mildew Resistant: Doesn't absorb moisture, so it's less prone to mold and mildew growth.
- Longer Warranties: Often comes with better warranties than felt.
Cons of Synthetic Underlayment:
- Higher Cost: Generally more expensive than asphalt-saturated felt.
- Can Be Slippery: Some older or lower-quality synthetic underlayments can be slippery when wet, posing a safety risk during installation. However, many modern products have anti-slip coatings.
Common Use Cases:
Ideal for almost any roofing project, especially in areas with harsh weather conditions (heavy rain, strong winds, intense sun). It's a great choice for metal roofs, tile roofs, and high-end asphalt shingle installations where maximum protection and longevity are desired. Perfect for both the US and Southeast Asian markets where weather can be extreme.
Product Recommendations and Pricing (US Market):
- Titanium UDL30/50 (InterWrap): A very popular and highly-regarded synthetic underlayment. UDL30 (10-square roll) typically costs $100-$150, while UDL50 (10-square roll) might be $150-$200.
- GAF TigerPaw: Another excellent synthetic option known for its durability and grip. A 10-square roll usually runs $100-$140.
- Owens Corning ProArmor Synthetic Roof Underlayment: Offers good traction and protection. Expect to pay around $90-$130 for a 10-square roll.
- IKO StormShield: A strong contender in the synthetic market. A 10-square roll can be found for $90-$130.
Product Recommendations and Pricing (Southeast Asia Market - indicative, prices vary by country):
- Boral Roofing (often partners with local distributors): While known for tiles, they often recommend compatible synthetic underlayments. Prices would be localized but expect similar premium over felt.
- Local Brands (e.g., from Malaysia, Thailand, Vietnam): Many local manufacturers produce synthetic underlayments. Look for products meeting international standards (e.g., ASTM). Prices can be competitive, potentially $80-$120 USD equivalent per 10-square roll.
- Imported Brands (e.g., from US/Europe): Brands like Titanium or GAF might be available through specialized distributors, but at a higher premium due to import costs.
Self Adhering Underlayment The Ultimate Leak Barrier for Critical Areas
Also known as 'ice and water shield,' self-adhering underlayment is the crème de la crème of roof protection. It's a rubberized asphalt membrane with a sticky backing that adheres directly to the roof deck, creating a watertight seal. This type of underlayment is specifically designed for critical areas of your roof where water is most likely to penetrate, such as eaves, valleys, around chimneys, skylights, and other penetrations. It's a must-have in regions prone to ice dams (US northern states) or heavy, wind-driven rain (coastal US and much of Southeast Asia).
Pros of Self-Adhering Underlayment:
- Superior Water Protection: Forms a watertight seal, preventing water from backing up under shingles or tiles.
- Ice Dam Protection: Essential in cold climates to prevent water damage from ice dams.
- Seals Around Fasteners: The rubberized asphalt seals around nails and staples, preventing water entry through fastener holes.
- Durable and Long-Lasting: Extremely resilient and designed to last the lifetime of your roof.
Cons of Self-Adhering Underlayment:
- Most Expensive: Significantly pricier than felt or even synthetic underlayment.
- Installation Can Be Tricky: Once it sticks, it's stuck! Requires careful alignment and installation.
- Not for Entire Roof: Typically used only in critical areas, not usually for the entire roof deck due to cost and breathability concerns (though some specialized products exist for full coverage).
Common Use Cases:
Absolutely essential for eaves in cold climates to prevent ice dam damage. Highly recommended for valleys, around all roof penetrations (chimneys, vents, skylights), and low-slope areas. In Southeast Asia, it's invaluable in areas experiencing monsoons and heavy, wind-driven rain to prevent leaks in vulnerable spots.
Product Recommendations and Pricing (US Market):
- Grace Ice & Water Shield: The original and often considered the gold standard. A 2-square roll (36 inches x 75 feet) can cost $150-$250.
- CertainTeed WinterGuard: A popular alternative to Grace, offering similar performance. Expect to pay $140-$220 for a 2-square roll.
- GAF StormGuard: GAF's ice and water barrier. Prices are typically in the $130-$200 range for a 2-square roll.
- Owens Corning WeatherLock: Another reliable option. A 2-square roll usually costs $120-$180.
Product Recommendations and Pricing (Southeast Asia Market - indicative):
- Local Brands (e.g., from Malaysia, Thailand): Many local manufacturers offer self-adhering membranes. Look for products designed for high heat and humidity. Prices might range from $100-$180 USD equivalent per 2-square roll.
- Imported Brands: Grace Ice & Water Shield or similar premium brands might be available but at a higher price point, potentially $200-$300+ USD equivalent per roll due to import duties and logistics.
Comparing Underlayment Options Which is Best for Your Home Roofing Project
Choosing the right underlayment depends on several factors:
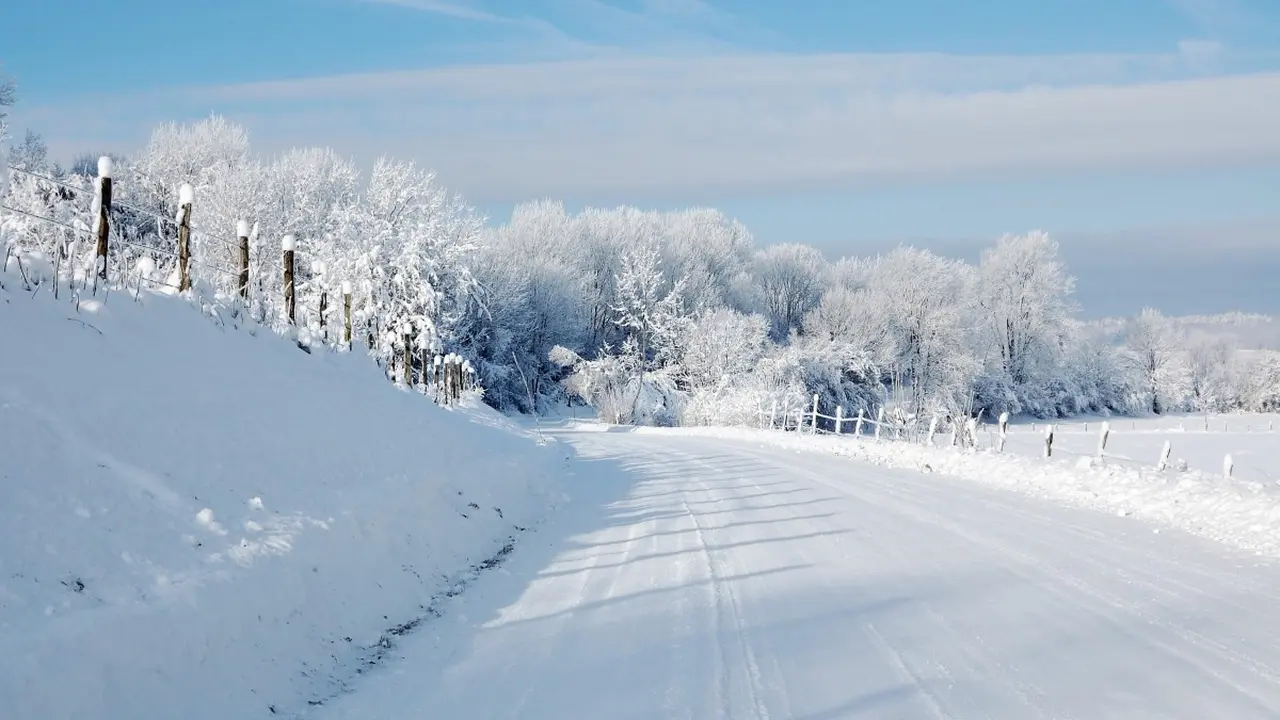
Climate Considerations for Roof Underlayment Selection
- Cold Climates (US Northern States): Self-adhering underlayment is non-negotiable at the eaves to prevent ice dam damage. Synthetic underlayment for the rest of the roof is a strong recommendation for its durability and water resistance.
- Hot Humid Climates (Southeast Asia, US Southern States): Synthetic underlayment is excellent due to its mold resistance and ability to withstand intense UV exposure. Self-adhering underlayment is crucial in valleys and around penetrations for protection against heavy, wind-driven rain.
- Moderate Climates: Asphalt-saturated felt can be a cost-effective option, but synthetic still offers superior long-term protection and peace of mind.
Roofing Material Compatibility Underlayment for Shingles Metal and Tile Roofs
- Asphalt Shingles: All three types can be used. Felt is the most common budget option, synthetic offers better performance, and self-adhering is for critical areas.
- Metal Roofs: Synthetic underlayment is highly recommended due to its durability, tear resistance, and ability to withstand higher temperatures that can build up under metal. Self-adhering is also great for full coverage or critical areas.
- Tile and Slate Roofs: These heavy materials require a robust underlayment. Synthetic is often preferred for its strength and longevity. Self-adhering is essential in valleys and around penetrations.
Budget vs Performance Balancing Cost and Protection for Your Roof
- Budget-Conscious: A combination of 15-pound felt for the main field and self-adhering in critical areas can be a cost-effective approach, though not ideal for long-term durability.
- Mid-Range: Synthetic underlayment for the main field and self-adhering in critical areas offers a great balance of cost and performance. This is often the sweet spot for many homeowners.
- Premium Protection: Full coverage with high-quality synthetic underlayment and extensive use of self-adhering underlayment in all vulnerable areas provides the best possible protection and longevity for your roof.
Installation Best Practices for Roof Underlayment Ensuring a Watertight Seal
Proper installation is just as important as choosing the right material. Even the best underlayment won't perform if it's not installed correctly. Here are some key best practices:
Preparing the Roof Deck Essential Steps Before Underlayment Installation
- Clean and Dry: Ensure the roof deck is clean, dry, and free of any debris, old nails, or sharp edges.
- Repair Damage: Any damaged or rotted sections of the roof deck must be repaired or replaced before underlayment installation.
- Smooth Surface: A smooth, even surface is crucial for the underlayment to lay flat and adhere properly.
Laying Underlayment Overlap and Fastening Techniques for Optimal Performance
- Start at the Eaves: Always begin laying underlayment at the lowest point of the roof (the eaves) and work your way up towards the ridge.
- Proper Overlap: Each successive course of underlayment should overlap the one below it by the manufacturer's specified amount (usually 2-4 inches for felt and synthetic, and 3-6 inches for self-adhering). This creates a shingle-like effect, shedding water downwards.
- Fastening:
- Felt and Synthetic: Typically fastened with roofing nails or staples. Ensure fasteners are driven flush and not overdriven.
- Self-Adhering: Relies on its adhesive backing. Remove the release liner carefully, pressing the membrane firmly onto the deck to avoid wrinkles and air bubbles.
- Valleys and Penetrations: These areas require special attention. Self-adhering underlayment should be installed first in valleys, extending several inches up each side. Around chimneys, skylights, and vents, the underlayment should be cut and sealed meticulously to create a watertight barrier.
- Wrinkle-Free: Lay the underlayment as smoothly and wrinkle-free as possible. Wrinkles can create weak points and affect the performance of the primary roofing material.
- Temporary Protection: If the primary roofing material isn't installed immediately, ensure the underlayment is properly secured to prevent wind uplift and water intrusion. Some synthetic underlayments are designed for longer exposure times.
Common Mistakes to Avoid When Installing Roof Underlayment
- Insufficient Overlap: Not overlapping enough creates gaps where water can penetrate.
- Improper Fastening: Too few fasteners, overdriven fasteners, or fasteners that don't penetrate the deck properly can compromise the underlayment's integrity.
- Installing on a Wet Deck: This can trap moisture, leading to mold, rot, and adhesion issues.
- Ignoring Manufacturer Instructions: Always follow the specific installation guidelines provided by the underlayment manufacturer.
- Using the Wrong Type: Trying to save money by using felt where self-adhering is required (e.g., ice dam zones) is a recipe for disaster.
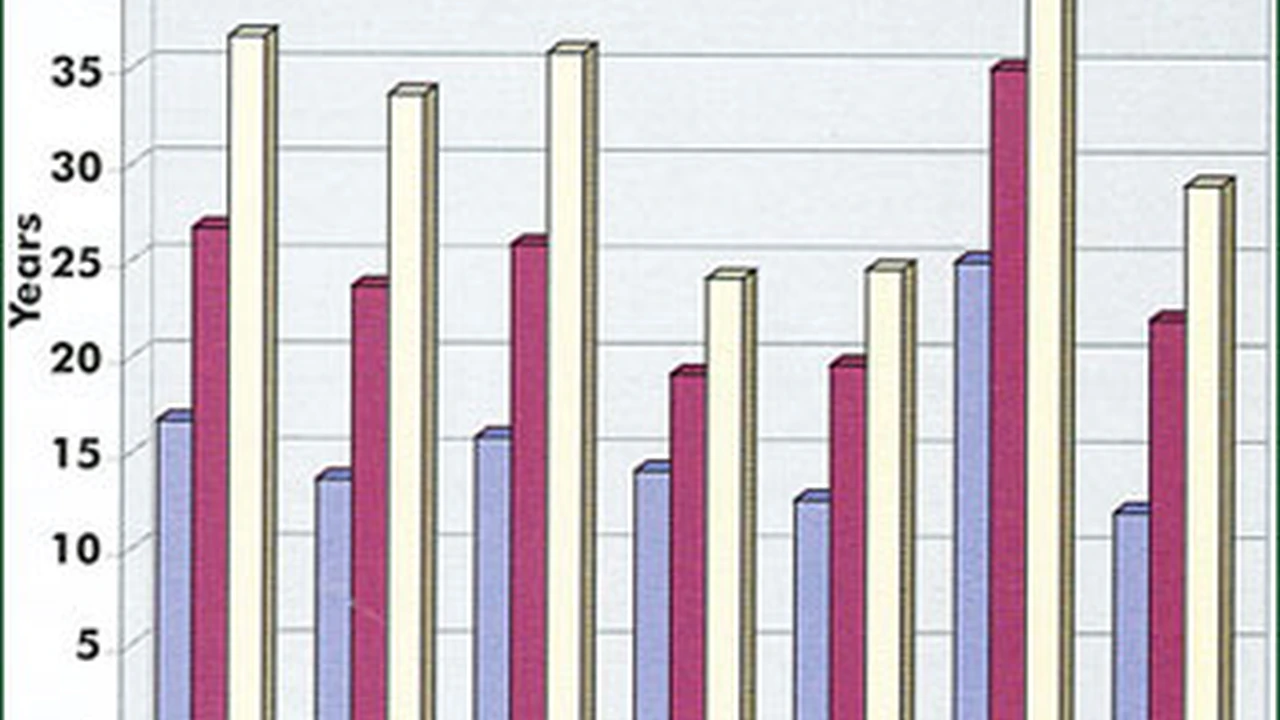
The Lifespan of Roof Underlayment How Long Does it Last
The lifespan of your roof underlayment is directly tied to its type and the quality of installation. Generally:
- Asphalt Saturated Felt: Can last anywhere from 15 to 30 years, but its performance can degrade faster if exposed to the elements for extended periods or in harsh conditions.
- Synthetic Underlayment: Designed to last as long as the primary roofing material, often 30-50 years or more, thanks to its superior durability and UV resistance.
- Self-Adhering Underlayment: Built for extreme longevity, often exceeding 50 years, as it's meant to be a permanent watertight barrier.
Ultimately, the underlayment should ideally last as long as your roof's primary covering. If your underlayment fails before your shingles or tiles, you're looking at a premature and costly roof replacement.
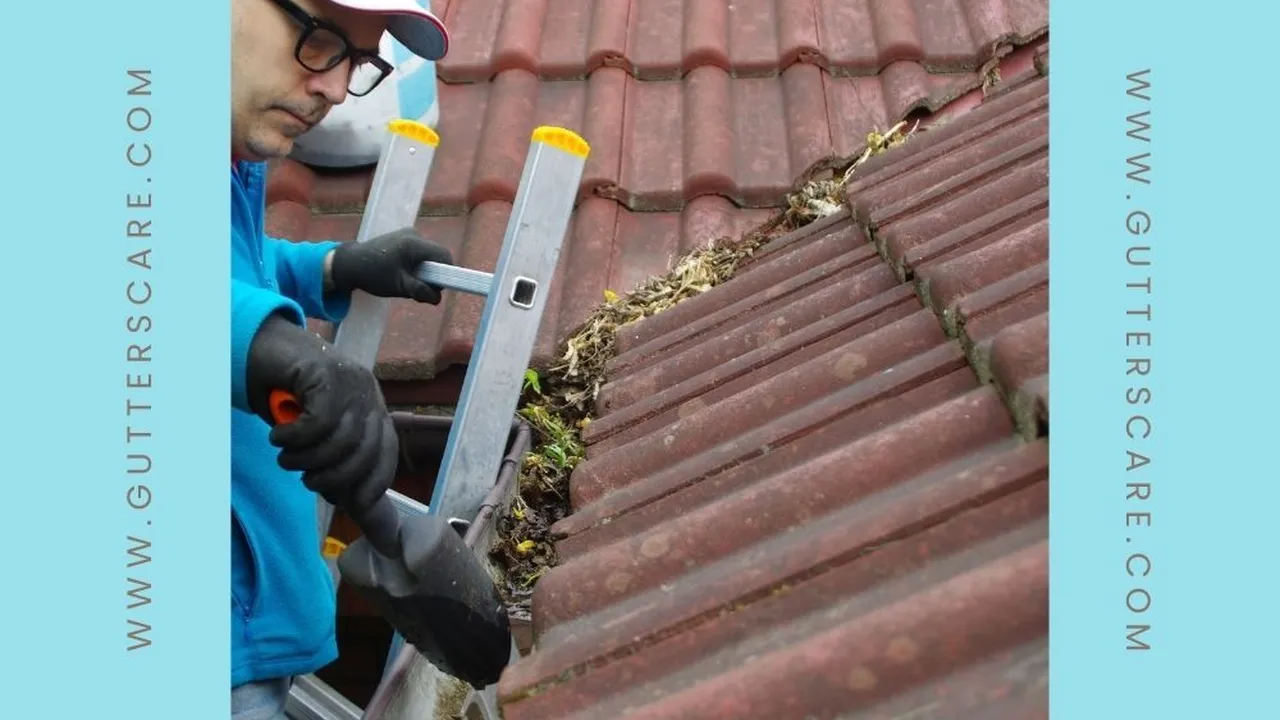
Maintenance and Inspection Tips for Your Roof Underlayment
While you can't directly inspect your underlayment once the roof is installed, its health is reflected in the overall condition of your roof. Regular roof inspections are key:
- Annual Roof Checks: Have your roof professionally inspected at least once a year, and after any major storm.
- Look for Leaks: Any signs of water stains on your ceilings or walls are a clear indicator that your underlayment (or primary roofing) might be failing.
- Check for Damaged Shingles/Tiles: Missing, cracked, or curled shingles expose the underlayment to UV rays and moisture, accelerating its degradation. Promptly repair any damage to protect the underlayment.
- Ensure Proper Ventilation: Good attic ventilation prevents heat and moisture buildup, which can negatively impact the lifespan of your entire roofing system, including the underlayment.
The Bottom Line on Roof Underlayment Investing in Long Term Home Protection
Choosing the right roof underlayment is a critical decision that impacts the longevity, performance, and overall protection of your home. It's not an area to cut corners. While asphalt-saturated felt offers a basic level of protection, synthetic underlayments provide superior durability and ease of installation, making them a fantastic choice for most homeowners in both the US and Southeast Asia. For critical areas and in harsh climates, self-adhering underlayment is an absolute must for preventing leaks and ice dam damage. By understanding your options, considering your climate and roofing material, and ensuring proper installation, you're making a smart investment in the long-term health and safety of your home. Don't underestimate the power of this hidden layer – it's truly your roof's best friend!
:max_bytes(150000):strip_icc()/277019-baked-pork-chops-with-cream-of-mushroom-soup-DDMFS-beauty-4x3-BG-7505-5762b731cf30447d9cbbbbbf387beafa.jpg)